Photography Editing Workflow: What Happens Next?
Today, I’m sharing all the details of my photography editing workflow. Have you ever wondered why a photographer’s turnaround time is what it is? And what exactly happens between the time we say our goodbyes at the end of the session and that super exciting moment when the gallery hits your inbox? In this post, I am sharing my step-by-step post-session workflow and all that goes on behind the scenes!
First thing’s first: the Back-Up
My top priority is the safety of your images! I keep each session in 3 places. First, I transfer the images off my SD card and onto my computer. Then I put the SD card in a safe place where it doesn’t get used again until the gallery is delivered. And lastly, I use Backblaze for a continuous backup of all files on my computer.
Queue: hop in line!
Next, in my photography editing workflow, your gallery goes into my editing queue! Depending on the season it may have anywhere between 2-20 sessions in it.
Culling: the best of the best
Culling is: eliminating duplicates, blinks, unideal expressions, and any blurry or badly composed images; ie: Finding the best and strongest images to provide a dynamic, diverse, and beautiful diverse gallery!
In my workflow, I typically cull two times per session; usually one day apart to give my brain a break and with fresh eyes!
In my first culling session, I will narrow a full session from 1,000 photos to 200-300+ photos. And in the 2nd, I narrow it down further to 75-100 photos of the best of the best!
Submit to Imagen AI: my color editing wizard
A year ago, I started using Imagen AI to streamline my editing process, and it has been a game-changer for my photography business!
By learning from 3,000 of my own edited images, Imagen AI has mastered my specific editing style, allowing it to color-edit a gallery of 100 photos in just about five minutes. This not only saves me valuable time but also ensures a consistent and polished look across all my work! If you’re a photographer and are looking to enhance your editing workflow, I highly recommend exploring Imagen AI. Here’s a link for 1,500 free photo edits if you are a photographer and want to try it out!
Final color edits:
After reviewing edits from Imagen AI, I begin tweaking and finalizing each image one at time.
I make small white balance changes, straighten images, make selective color corrections, and spot removals. (ie: precious newborn skin) I will then pull anything into Photoshop that needs final adjustments: removing any extra tricky distractions; and face swapping if needed!
B/W conversions:
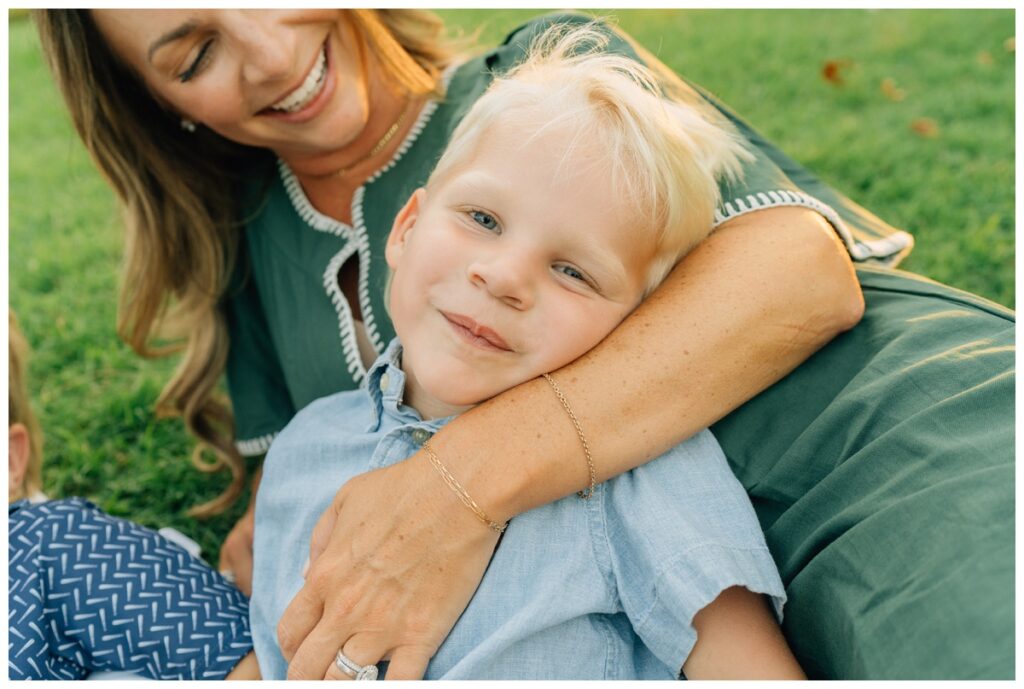
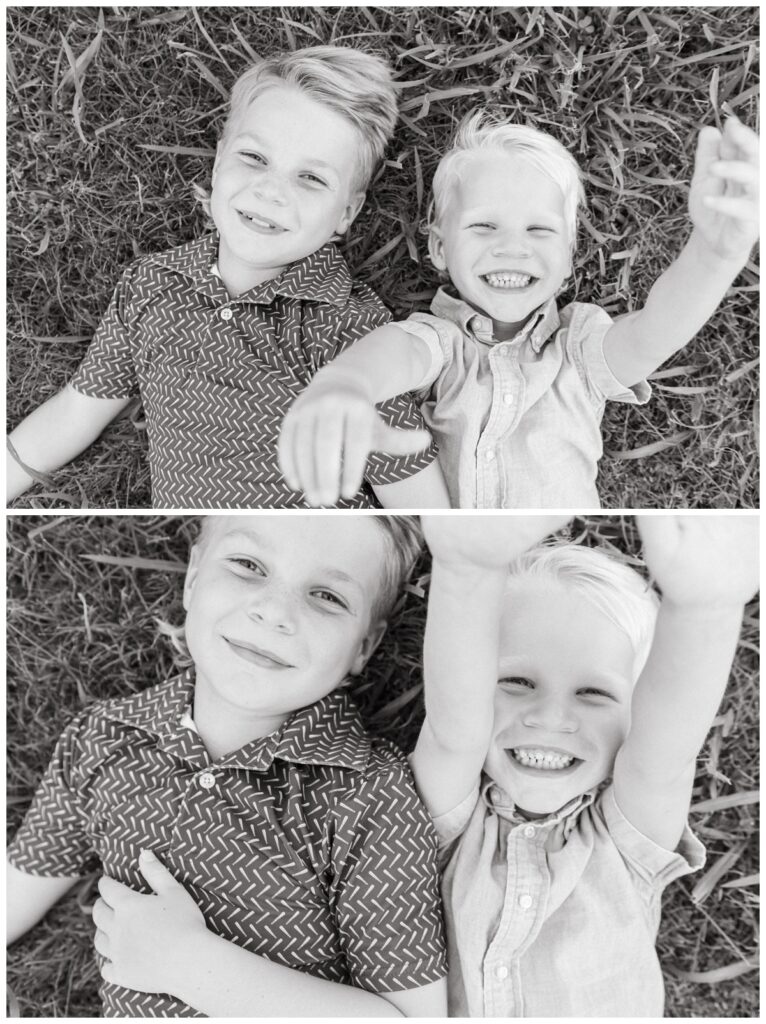
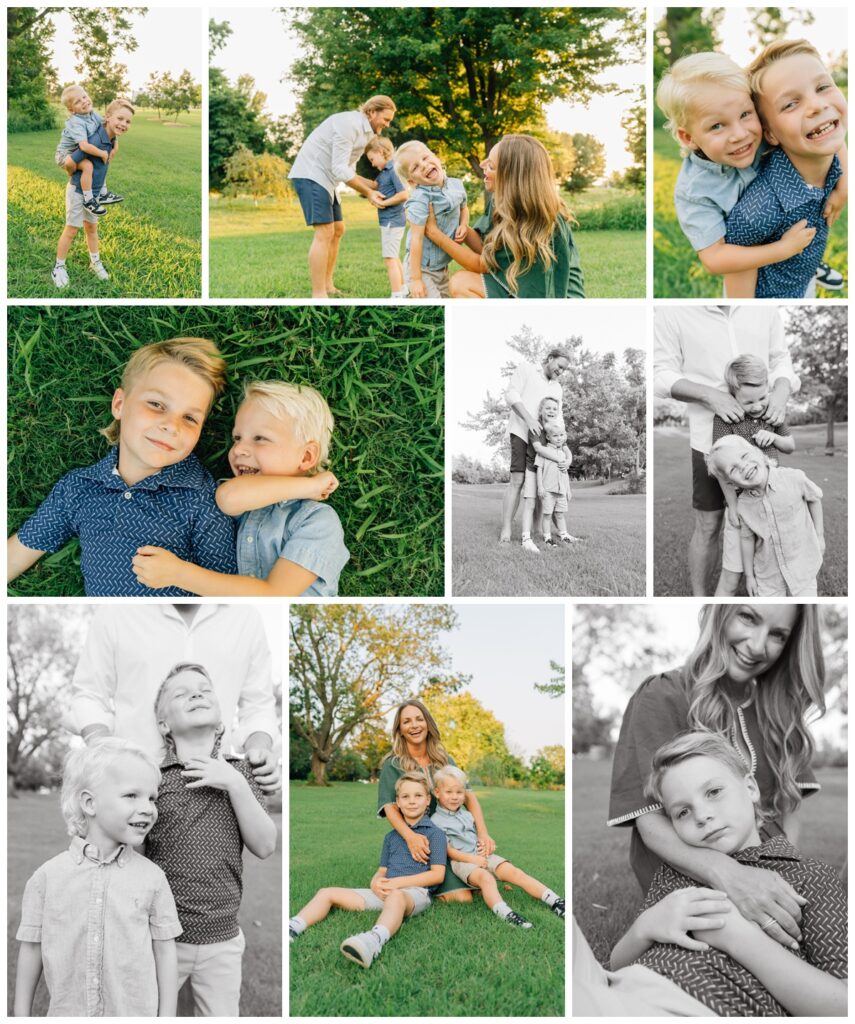
When selecting images to convert to black and white, I typically choose around 20-30% photos from a session. I look for images with strong contrast, which ensures that the tonal range translates well without losing detail. Additionally, I select images that evoke a strong emotional response, as black and white photography often enhances the depth and intensity of the moment captured. I mean, juslook at these handsome/adorable/ boys below!
Upload & Delivery:
Once the images are uploaded to Pixieset, I review the entire gallery to ensure everything looks cohesive and then will make any last-minute tweaks, as needed. After finalizing the adjustments, your gallery is ready to deliver and sent to your email!
Photography Editing Workflow: final thoughts
Although it may appear on the outside that photographers just shoot and edit, there are so many other administrative tasks to juggle as well! A few are client communication, marketing, website updates, content and social media planning, accounting, and more! But nothing on that list brings me more joy than delivering your beautiful gallery for you to cherish for years to come!
*PSST: If you’re a photographer looking to dive deeper into your craft through mentor sessions, resources, and upcoming workshops, I want to personally invite you to sign up for my new photographer education newsletter to stay connected! You don’t wanna miss it!
