
School Portrait Photography Equipment

So you’ve landed your first school – now what?!
Okay, friend let’s talk school portrait photography equipment.
First, a little encouragement: you do not need to max out a credit card to get started. You don’t need a full studio setup or even all the bells and whistles. You really can deliver clean, classic school portraits with your camera, natural light, and a solid workflow.
But if you do want to invest in a few key tools, I’ll walk you through exactly what’s in my kit and why. Whether you’re working in a corner of a classroom or setting up in a church multipurpose room, this guide is meant to help you feel confident and prepared.
Let’s keep it simple, affordable, and effective.
Camera + Lens Equipment Setup
I shoot with a Sony A7 IV and always always bring a backup camera body just in case. When you’re photographing 30–40 kids in a day, you want to have all I’s dotted and T’s crossed.
As for lenses, here are a few that work beautifully for school portraits:
- 35mm: My personal favorite. Great if you’re tight on space. You can stay relatively close to your subject without distortion, and get amazing personality shots.
- 50mm: A versatile go-to. Sharp, flattering, and ideal for mid-size setups.
- 24–70mm: This zoom lens gives you more flexibility, especially if you’re switching between individual and sibling shots. But careful to watch out for distortion if you go too wide!
You don’t need all three—just pick one that fits your shooting style and the space you’ll be working in and stick with it. (*Remember that this helps with consistency across all the galleries.)

Lighting + Photography Equipment That Works for You
Natural Light Setup
You have options here, and it’s okay to start with what you already have.
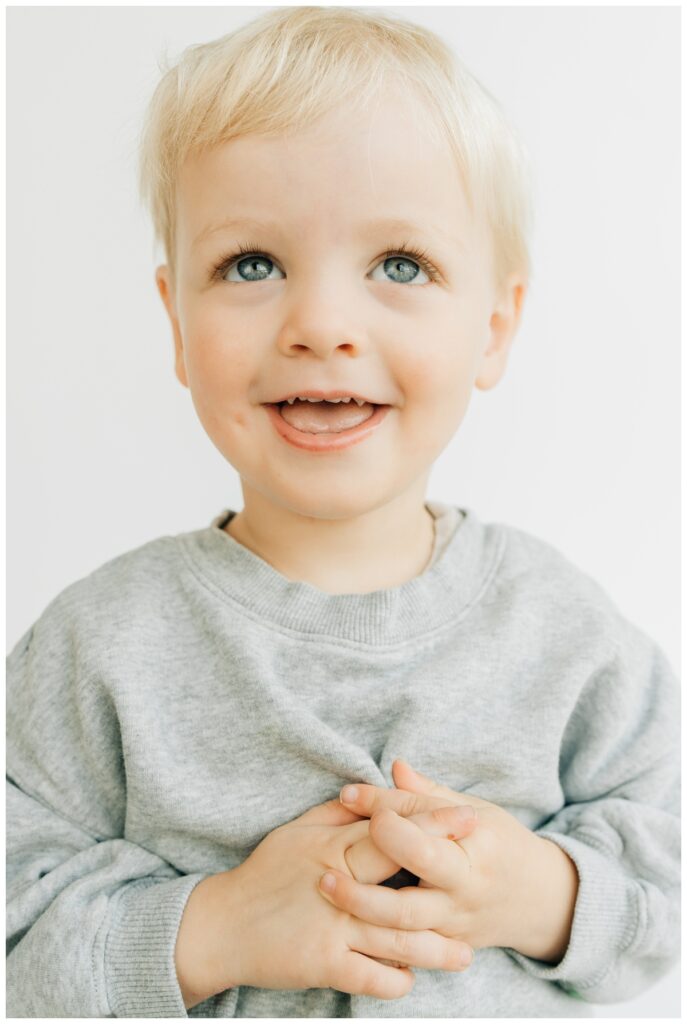
If you’re shooting in a well-lit room with big windows, that may be all you need. Natural light can be beautiful and soft—especially when you position your subject just right. Place them near the light source and angle them slightly so the light falls gently across their face. Just be sure to keep an eye on your settings throughout the session.
Cloud cover, time of day, and window direction can shift the light in subtle ways, so you may need to adjust your exposure as you go.
Off-Camera Flash or Strobe Equipment for School Portrait Photography
If you’re shooting indoors with tricky lighting or if you want more consistency in your work, using an off-camera flash setup can be a game-changer.
I use:
- A simple flash and umbrella combo
- A light stand that folds down easily for travel
- A trigger for my camera that syncs with the strobe
This setup keeps skin tones clean and consistent, and editing light. Once it’s dialed in, it just works. 🙌🏻
Backdrop Options
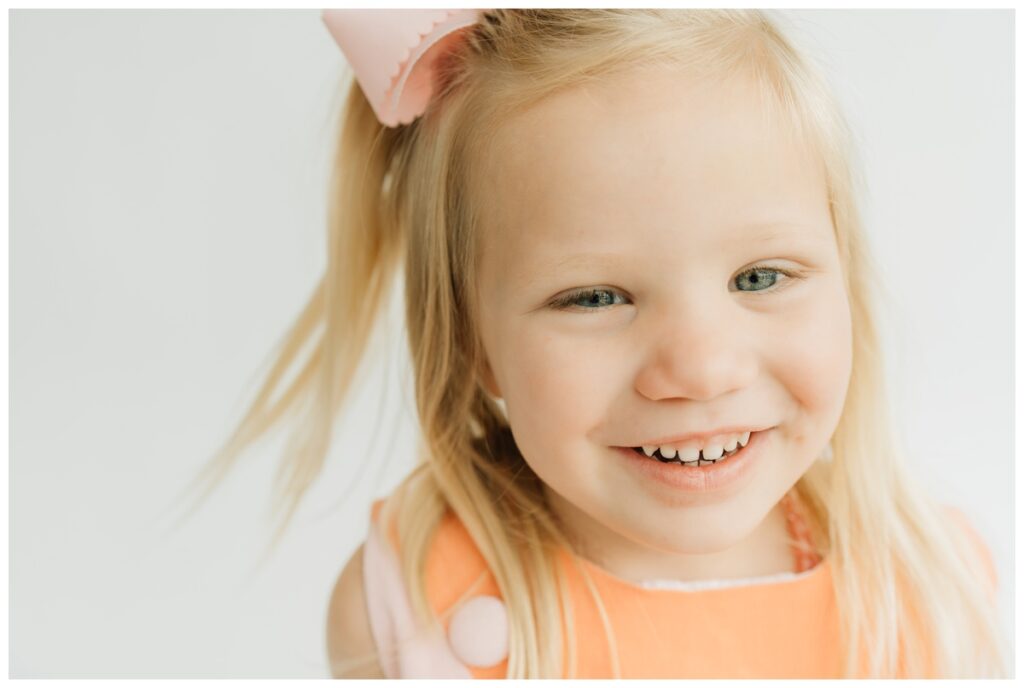
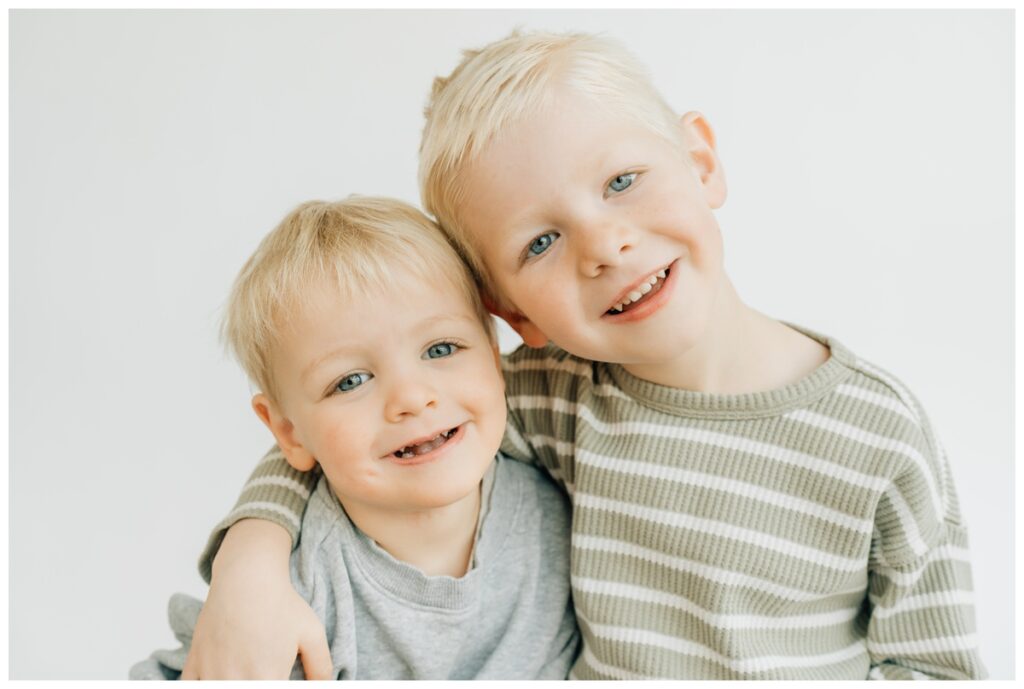
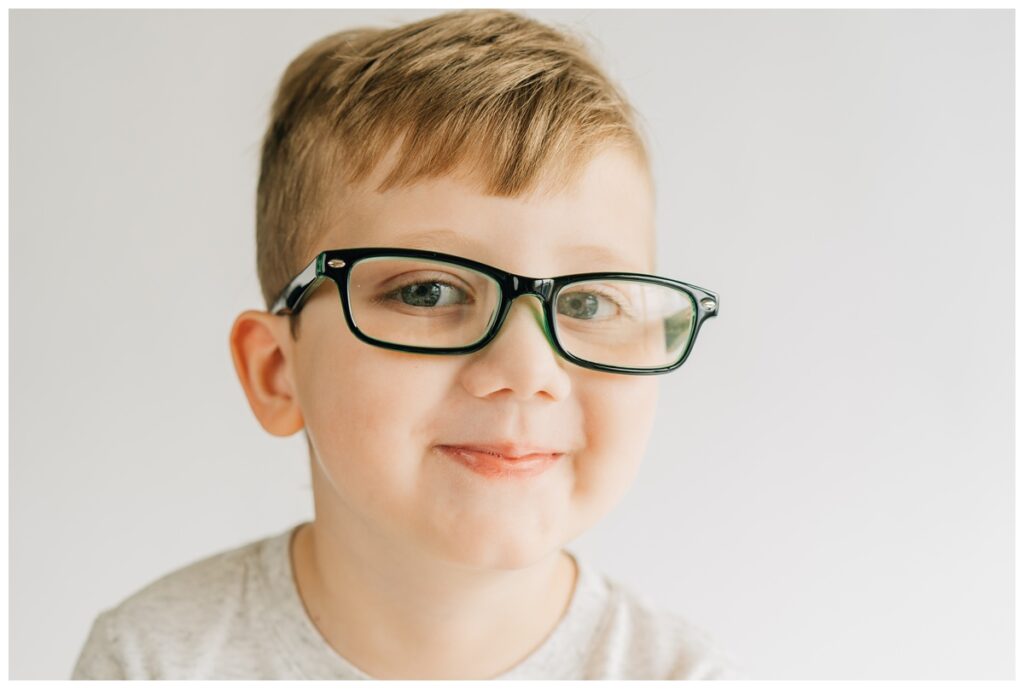
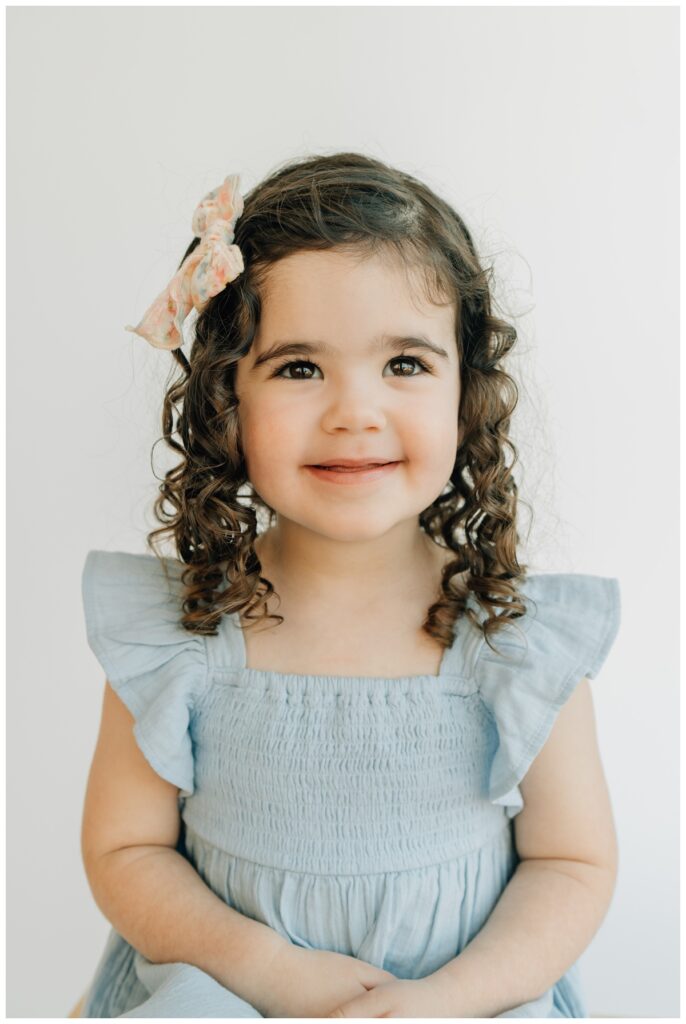
You really don’t need much here. A clean, solid background keeps the focus on the child and makes for timeless portraits.
What I Use:
- Paper backdrop in white
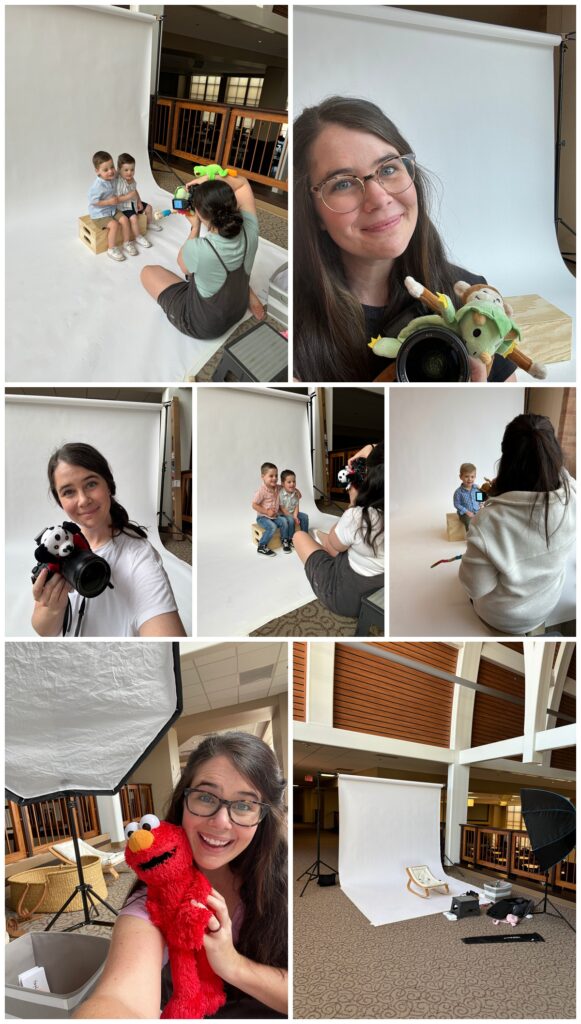
- Backdrop stand that’s quick to set up and fits in tight spaces
The Not-So-Obvious Essentials
These are the things you won’t think of until you’re mid-session and wish you’d packed them.
- Posing blocks or step stools for little ones
- Clamps and tape to secure your backdrop (because safety first – always)
- Wet wipes and a lint roller for last-minute cleanup
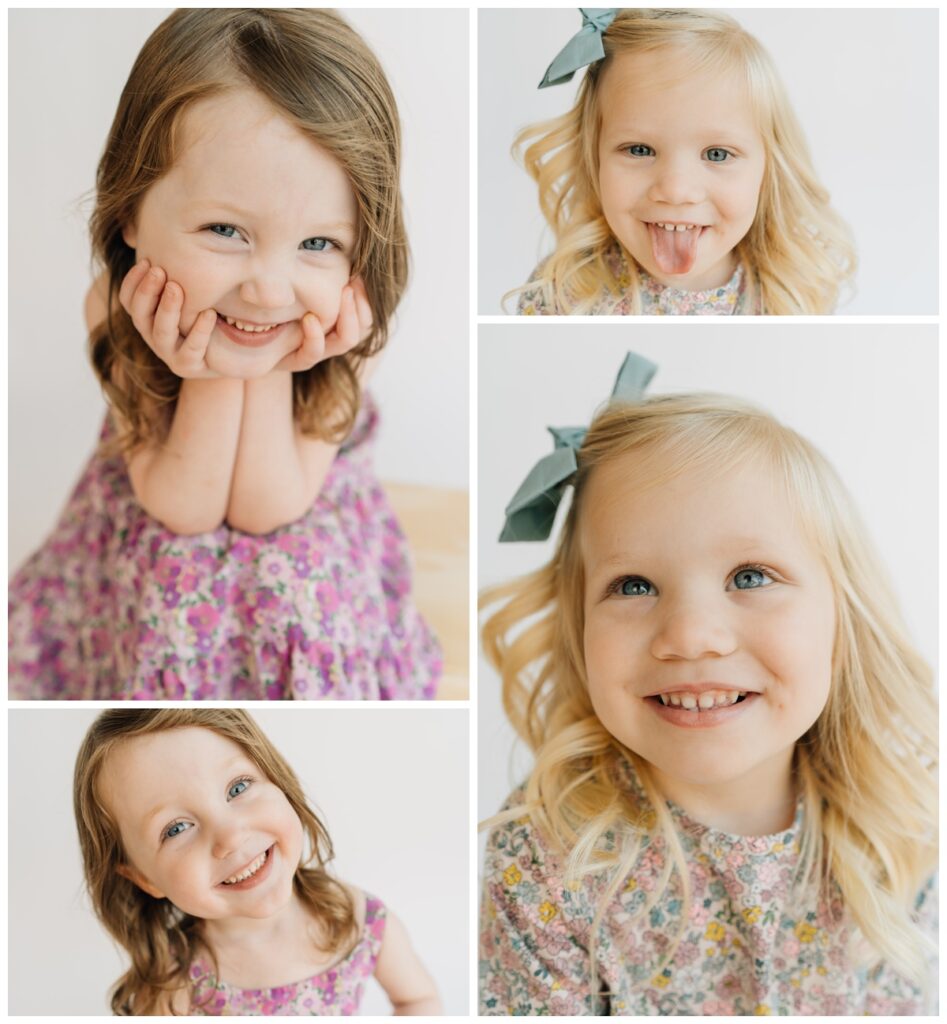
- A small toy or puppet to catch attention for toddlers
- Class list clipboard to stay organized
Over time, you’ll build your own go-to kit of random little lifesavers. Mine lives in a tote I just grab and go.
Editing + Delivery Tools for School Portraits
Once you’ve photographed all those sweet smiles, your workflow needs to keep up with the pace.
Here’s what helps me turn galleries around efficiently:
- Lightroom with my favorite batch-editing preset (something clean and bright—minimal tweaks needed thanks to good lighting)
- ShootProof for gallery delivery—it’s streamlined, parent-friendly, and offers print options too. (Here’s my referral link if you want to check it out.)
- A folder structure or spreadsheet system to keep images organized by class and name
If you want to offer digital and print packages, having a smooth delivery system is just as important as nailing your exposure.
Let’s Wrap It Up
That’s the rundown of my school portrait photography equipment setup! The goal is to choose photography equipment that will help with consistency.
If you’re just getting started and feeling a little overwhelmed, know this:
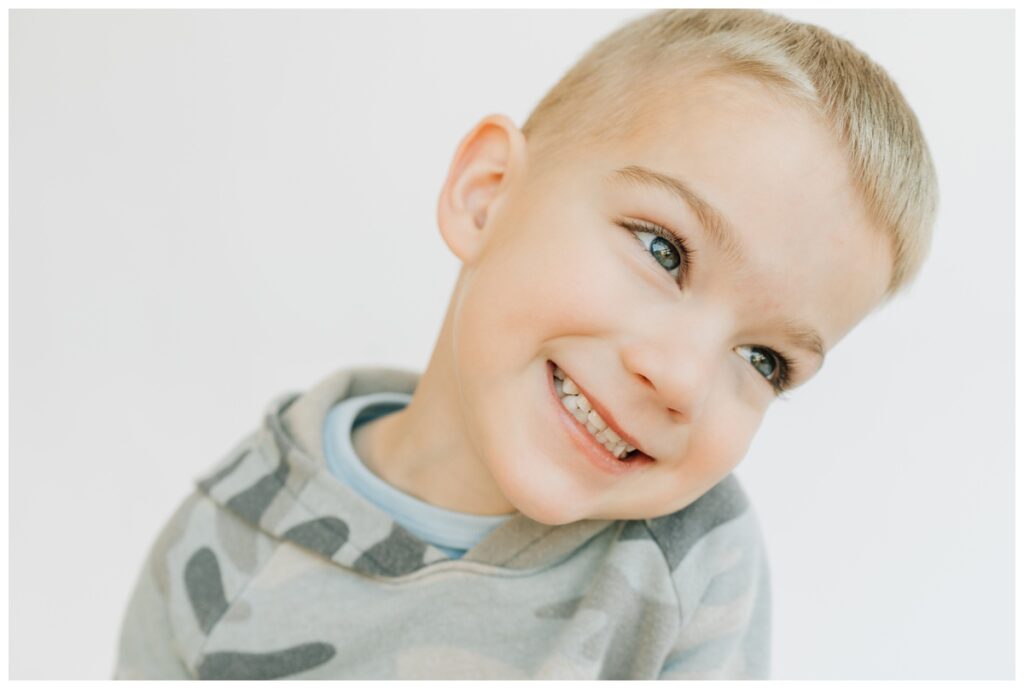
You don’t need to have it all figured out today. Start with what you have. Add as you go. Test things out. And most of all—stay focused on the kids in front of your camera. Their joy is simply the best part of the whole thing!
School Portrait Photography Equipment Questions? I’ve Got You.
If you’re still not sure what setup is best for your space, Let’s hop on a coaching call and walk through your school portrait photography setup—what you have, what you need, and how to make it all work smoothly.
You’re more ready than you think. Truly. And I’m cheering you on every step of the way.
Hi there, I’m Haley!—photographer, mama of two, and storyteller of everyday magic. I capture heartfelt family moments across Oklahoma and love helping fellow photographers grow through mentorships, workshops, and creative retreats.
Want to learn more? Get to know me here or book a mentorship spot. I’m so glad you’re here!
