
Part Two: Exposure Triangle Explained
That Moment When You Realize Your Settings Are Off Mid-Session…
Alright friend, let’s talk exposure triangle.
We’ve all been there….
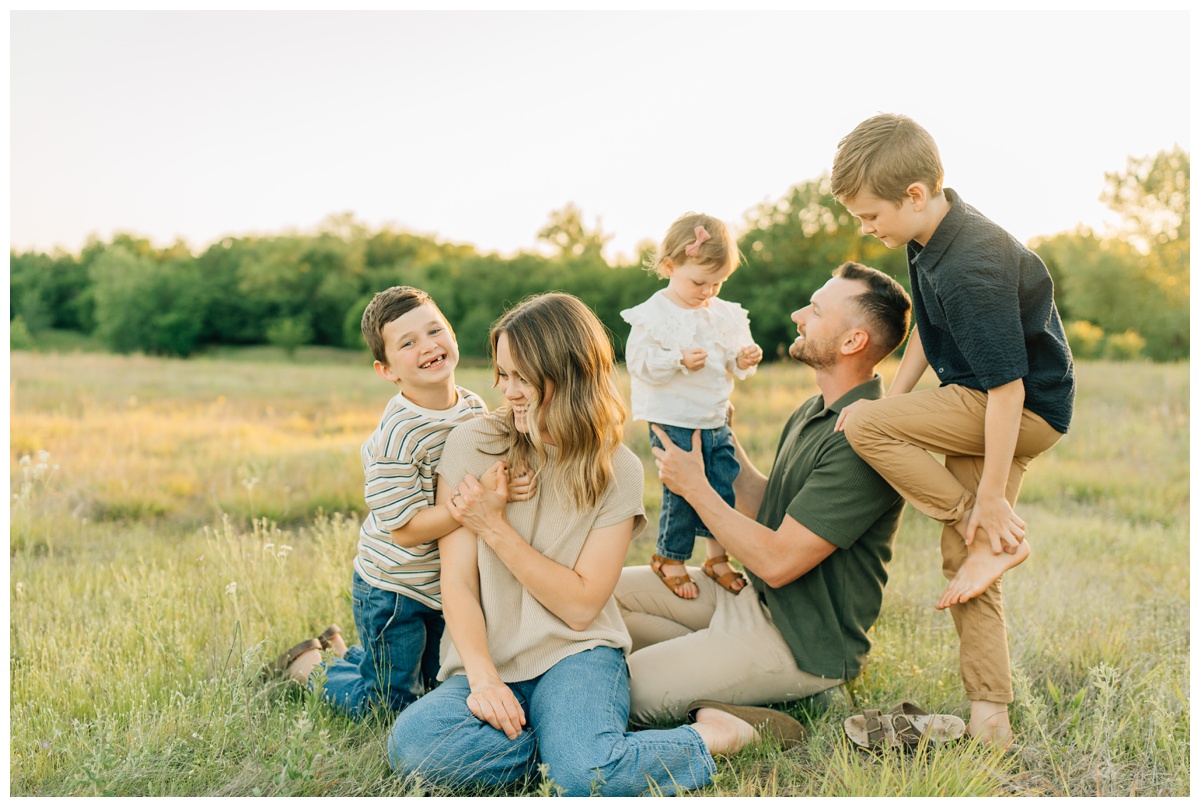
You’re in the groove of a session—maybe the toddler just gave you their first real smile—and you glance down at your camera. Wait. Something feels off. You peek at the exposure meter and yep… your settings got switched somehow. ISO is through the roof or your shutter speed isn’t where it should be.
Cue the gracious smile.
You casually say, “Hang on one sec while I tweak something,” or maybe you smoothly shift the pose to buy yourself a little time and keep the flow going. Either way, we’ve all done the settings scramble.
But what if you didn’t have to?
Let’s break it down: Exposure triangle explained
ISO, shutter speed, and aperture are the three key ingredients to creating a well-exposed, sharp image. They’re like the OG dream team of photography. And while it might feel a bit technical at first (hello, math class flashbacks), I promise, once you understand how these three work together, your sessions will feel smoother, and your editing? Lighter. Praise hands.
Think of them like a triangle. Each side supports the other. If one shifts, the others have to adjust to keep things balanced. Once you’ve got this triangle down, you’ll be able to move through sessions with more confidence and fewer oh-no-my-ISO-is-at-200 moments.
In my last post, Part One: Camera Settings for Family Photos, we skimmed the surface of basic camera settings. Today, we’re zooming in on how ISO, shutter speed, and aperture play together in real time. This is the secret sauce to getting clean, consistent images – especially when you’re wrangling fast-moving toddlers or shooting in less-than-ideal lighting.
By the end of this post, you’ll know:
- How ISO, shutter speed, and aperture affect one another
- What changes to make first depending on your lighting
- And how to quickly adjust your triangle mid-session without skipping a beat
Let’s get into it, friend.
Welcome to my blog! Here, I’m all about sharing fun tips to help you take amazing family pictures. If you enjoy this post, pin it to your Pinterest board, and don’t forget to snag your free “Photography Settings Cheat Sheet” to keep handy during your shoots!

How ISO, Shutter Speed, & Aperture Work Together
(AKA: Your Exposure Triangle Cheat Sheet)
Let’s talk teamwork.
ISO, shutter speed, and aperture form the exposure triangle. Why a triangle? Because each side affects the others. Tweak one, and you’ll usually need to adjust the others to keep things balanced. It’s like a group project—but in this one, you’re in control, and no one’s slacking.
ISO: The Light Booster
Raising your ISO helps brighten your image in low-light situations. But heads up—it can introduce grain if pushed too high. To keep things balanced, you may need to adjust your aperture (close it down with a higher f-stop number) or increase your shutter speed.
Example:
You’re photographing a cozy indoor scene with your baby snuggled in a blanket. Crank that ISO up to 1600 or even 2500! More light, more warmth. But if your image starts looking a little too bright, dial down your aperture or speed up that shutter.
Shutter Speed: The Freeze Frame
If you’re chasing toddlers (or let’s be real, just trying to keep up), you’ll want a fast shutter speed to freeze the moment. To make sure your image isn’t underexposed, you may need to open your aperture wider (lower that f-stop!) or raise your ISO.
Example:
Picture this: your client’s toddler is mid-jump on the bed, pure joy on their face. Use a shutter speed of 1/500s or faster to freeze the action. Then, to bring in enough light, adjust your aperture to f/2.8 and bump that ISO as needed.
Aperture: The Bokeh Queen
Want that dreamy, blurred background that makes your subject pop? You’ll want a wide aperture (aka a low f-stop number). Just know—this lets in a lot of light, so to avoid overexposure, you may need to lower your ISO or speed up your shutter.
Example:
You’re capturing a close-up of baby fingers wrapped around mama’s. Use an aperture around f/1.4 to f/2.8 for that creamy background. Then drop your ISO to 800 or quicken your shutter speed to get that just-right glow.
When you learn to adjust these three settings together, everything changes. You gain confidence, your photos get more consistent, and post-session editing? It takes way less time.
And that’s the magic of the triangle.
So—next time you’re mid-session and something feels off? Instead of panicking, adjust like a pro. You’ve got the tools, and I’m cheering you on every step of the way!
If this post was helpful, I’d love to hear what clicked for you in the comments. And if you haven’t already, go ahead and subscribe to my newsletter for more tips, tricks, and pep talks from behind the lens. We’re in this together.
This is Part Two of our Camera Basics series. Don’t miss Part One where we broke down camera settings for family photos.
Ready to feel even more confident behind the lens?
If you’ve ever wished for a cheat sheet to keep in your camera bag -something that tells you exactly what to adjust and when- I’ve got you, friend.
📸 Grab my free “Exposure Triangle Quick Guide”
A printable you can keep on hand during sessions to help you quickly troubleshoot lighting changes, fast-moving kiddos, and tricky indoor settings – without breaking a sweat.
You’ll also be the first to know when I drop more behind-the-scenes tips, gear breakdowns, and helpful how-tos designed just for lifestyle family and newborn photographers like you.
We’re not just learning settings – we’re building confidence. One frame at a time. Cheering you on!
Hi there! I’m Haley!
After a decade of photographing families, I’ve learned that the best images are the most honest.
Now, I help other photographers create connection-led sessions that feel natural, not forced. Whether you’re navigating your first family shoot or looking to elevate your client experience, I’m here to share what I’ve learned (the hard way!) so you don’t have to.
When I’m not behind the camera or mentoring other photographers, I’m probably chasing my two little girls, planning our next taco night, or squeezing in golden hour just for fun. I’m so glad you’re here!
Want to see more behind the scenes? Let’s connect on Instagram!
